 Web Link
 Robot turtles are extremely popular and fun to work with and are used extensively in both education and hobbyist circles. While the possibilities are endless, problem solving typically falls into three distinct categories:
1) Line Following.
2) Obstacle Avoidance.
3) Maze Escape.
Proteus combines an electrical model of the turtle (motors, sensors, etc,) together with the Arduino baseboard and then presents a simple but flexible virtual world in which the turtle motion can be simulated. Control of the turtle in Visual Designer is vastly simplified by the use of high level methods in a flowchart program, while greater flexibility and complexity can be managed by writing Arduino C code directly. Regardless of the coding choice the simulation, test and debug takes place entirely inside the Proteus software before deploying to the physical turtle.
The following robot turtles are currently supported:
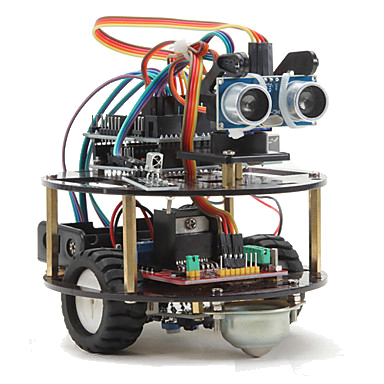
The Funduino turtle is a simple robot using an Arduino Uno baseboard alongside the motor driver board and 3 line hunter sensors. The ultrasonic range finder sits on top along with a stepper motor which allows you to swivel the sensor head. All of this is modelled in Proteus meaning that you can write your flowchart or firmware program and then test it in software.
Since the Funduino is the cheapest turtle we could find (around $50 at the time of writing) it's not surprising to find some limitations. In particular, there are no position encoders on the motor wheels and the line hunter sensors are digital.
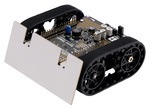
The Zumo robot for Arduino is an Arduino-controllable tracked robot platform. It includes two micro metal gearmotors coupled to a pair of silicone tracks, a stainless steel bulldozer-style blade, an array of six infrared reflectance sensors for line following or edge detection, a buzzer for simple sounds and music, a 3-axis accelerometer, magnetometer, and gyro for detecting impacts and tracking orientation.
The zumo is a more advanced turtle than the Funduino and can perform far better at line following and maze escape challenges but it does not have ultrasonic range finder and therefore is not as well suited to obstacle avoidance challenges.
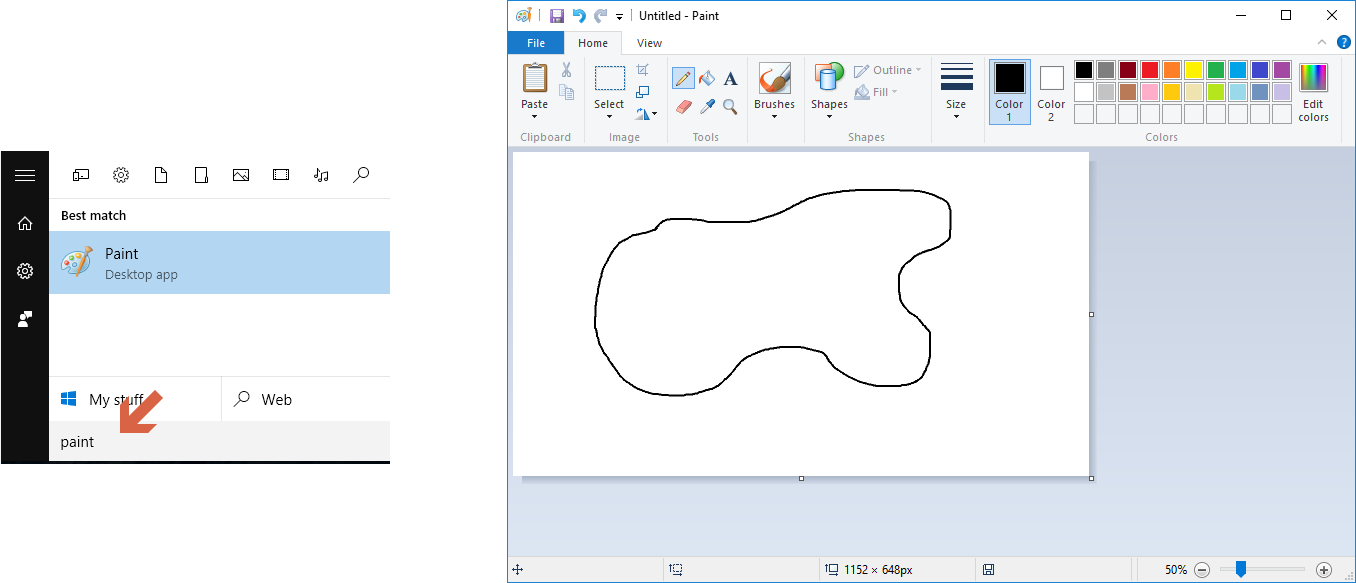
In order to test a written program the robot turtle needs an environment in which to operate during a simulation run. While there are many sophisticated and complex physics engines on the market, the goal of our simulation is to check and debug the firmware program and so we have kept things very simple. Our virtual world is a picture drawn in MS Paint or similar in which the following simple rules apply:
- 1 pixel is 1mm.
- Black is to be followed.
- Red is to be avoided.
- Green is a breakpoint and will pause your program !
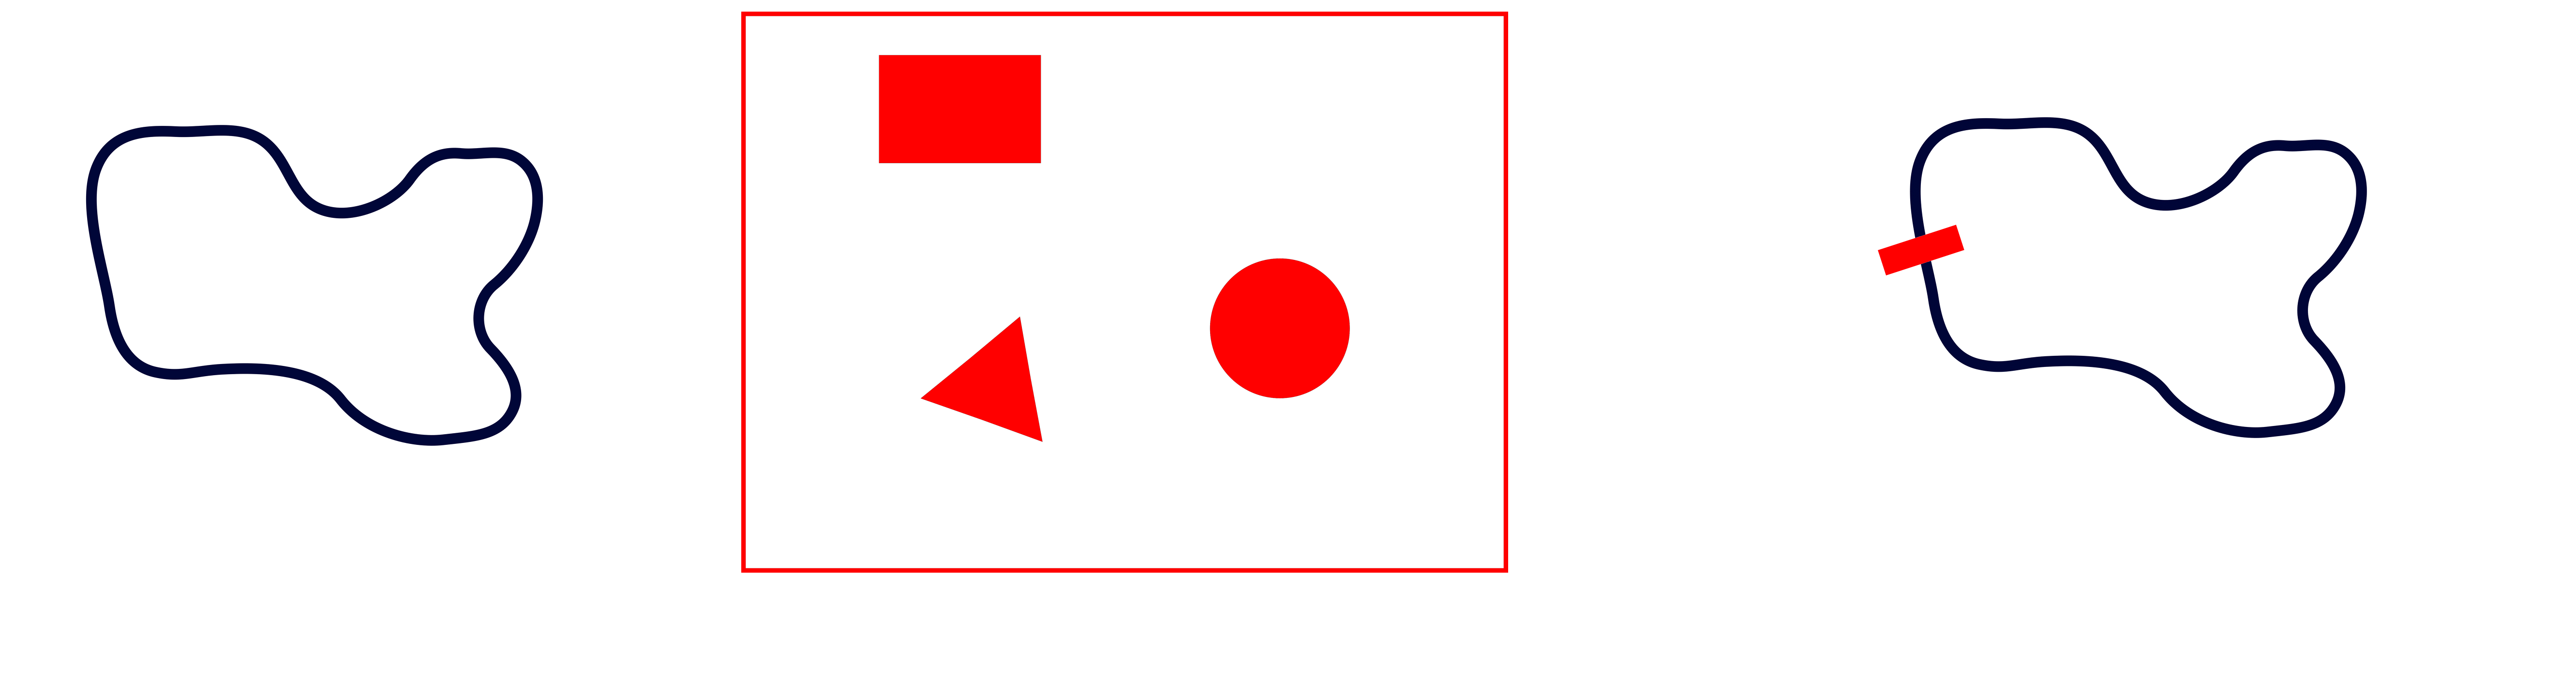
From Left to Right : Line Following example, Obstacle Avoidance example and Line Following with Obstacle example
To create and apply an environment for simulation
1) Draw the required route / obstacles in the graphics package of your choice. Remember that the scale is 1 pixel to 1 mm so drawing a 5 pixel wide line will equate to 5mm in the real world. Width of the line being followed can affect the algorithm (e,g if all the sensors are never over the line) so it's important to give this some thought.
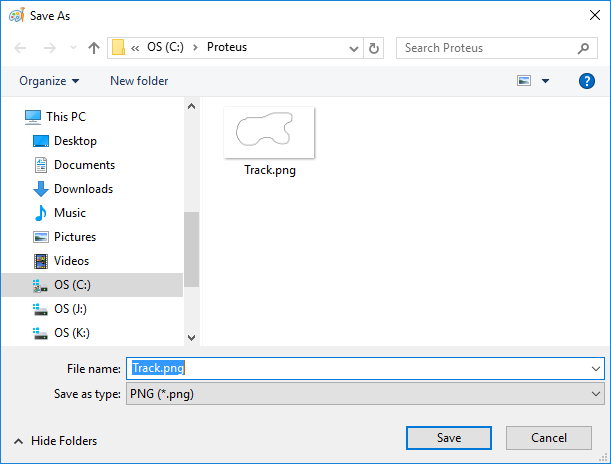
2) Save the graphic as a PNG file into the same directory as your Proteus project.
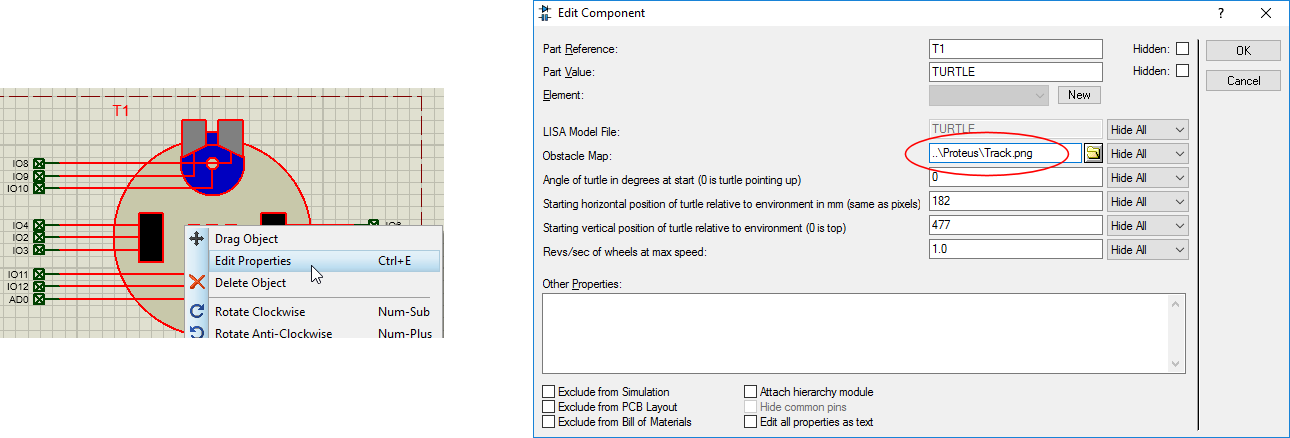
3) Edit the turtle component on your schematic and specify the graphic you have just saved as the obstacle map.
4) Run the simulation.
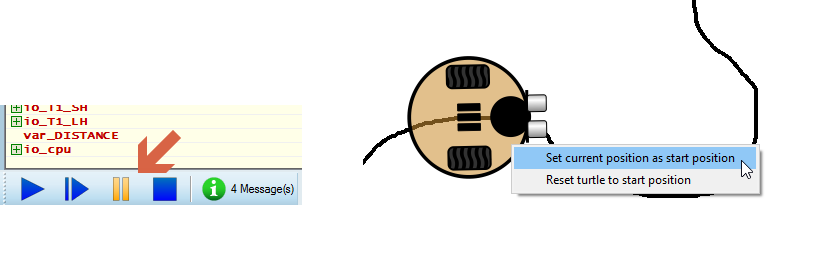
You can specify an initial position by first pausing the simulation, then positioning as required and finally, right clicking and specifying the current position as the new start position.